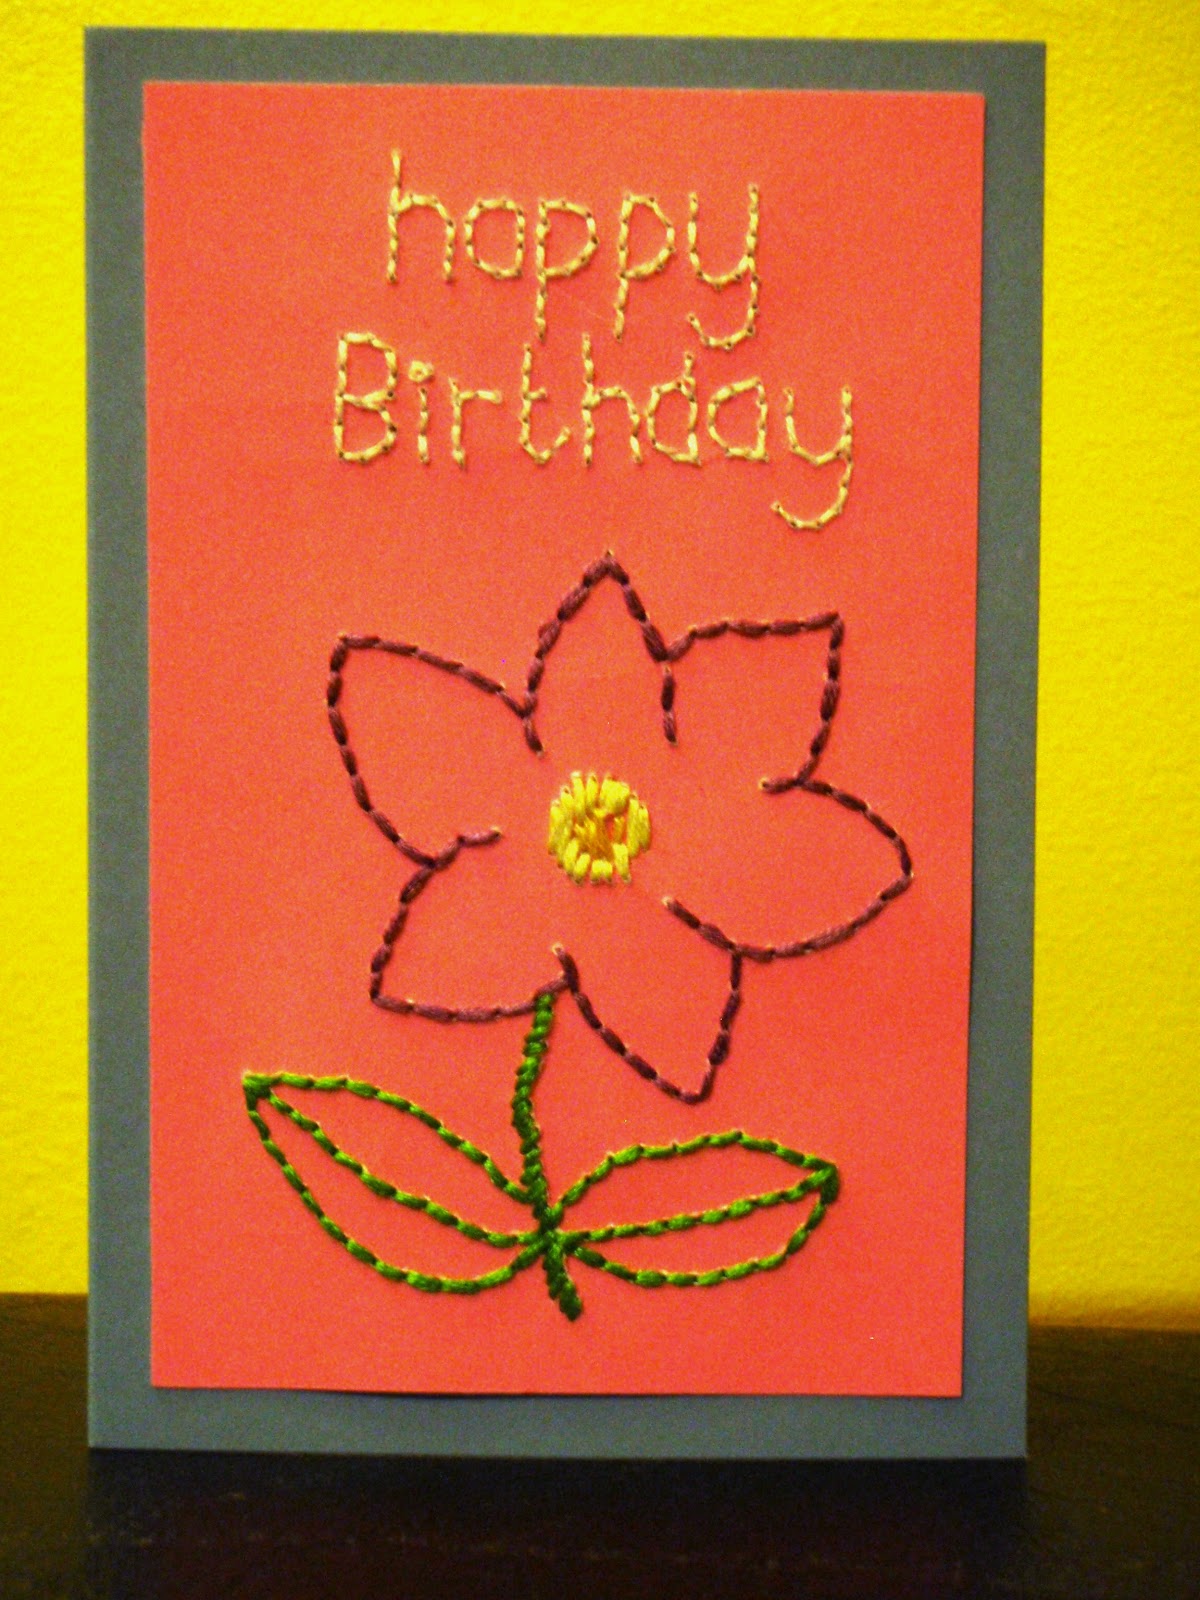
This tutorial will show you how to make an embroidered card, similar to this one. The card below is A6 size, and uses a blue ready folded card with a cut down smaller piece of pink card, onto which the design is hand embroidered.
Difficulty: Intermediate
Materials needed: card and envelope.
Extra piece of card (cut down to approx 2cm smaller than the front of the card)
Embroidery threads
Pencil
Needle
Tracing paper (optional)
glue (or double sided sticky tape

Step1: Draw out your design. Practise it first on scrap paper until you are happy with it, then trace over the design using the tracing paper. Transfer the design onto the reverse of the small piece of card, ensuring that the design is transferred in reverse (the writing must be backwards). Alternatively free - hand draw the design onto the reverse of the smaller piece of card, but make sure that the lettering is all backwards. (This is the method I used). Your reverse of the small card should look like this.
Step2: Carefully embroider the design onto the card. The pattern is on the reverse side (opposite to normal embroidery, so that the pencil marks don't show up on the front of the card.) I used 3 strands of DMC embroidery thread for the flower, and 2 strands for the message. I used backstitch for the words, flower and leaf outline, Stem stitch for the flower stem and satin stitch for the flower centre. Note: be careful that the stitches aren't too small, as this could cause the card to tear. My backstitch were approx 1/2 cm in length on average. It also helps to stab the next hole required through from the reverse of the card, rather than the front of the card to ensure that the design is followed accurately. Please be very careful when stabbing the needle through the card, it is best to have some padding e.g a cutting board, behind it to prevent creasing the paper, or stabbing yourself with the needle. Once finished, the reverse will look something like this.


Step3: Work out how you would like to position your design onto the per-folded card, (I did mine at a straight angle, but you could do yours at a diagonal to make the card look more jaunty). The apply glue or double sided sticky tape to the reverse of your design (I used double sided sticky tape as it's quicker), If using glue, I recommend a clear drying one, such as PVA. Hold above the card and slowly lower it into place. Press down to ensure it is firmly attached and allow to dry. Ta da! Finished!
Once you've given it a go once, then have a go at other designs and images!
Good Luck!
You might also like
Friday Finds: Seaside
The Clothes Maiden: Online Magazine Feature
Spring, Cambridge and Punting
Friday Finds: Sunflowers
WIP: Peak District Photo Conversion
No comments:
Post a Comment
Thanks for reading my blog and for leaving a comment. I moderate all comments to avoid spam, so your comment won't appear until I've published it.
Thanks for visiting, hope to see you again soon
Gemma